Ever wondered why your grandmother’s laundry always felt so soft and fresh? Today’s commercial fabric softeners may promise the same results, but they’re often filled with harsh chemicals that harm fabrics, health, and the environment.
The good news? The best DIY fabric softener isn’t in stores—it’s in your kitchen! Inspired by my grandmother’s tips, this natural, cost-effective solution softens clothes while protecting your family and the planet. Let’s explore how simple ingredients can transform your laundry routine and bring back the magic of traditional care!
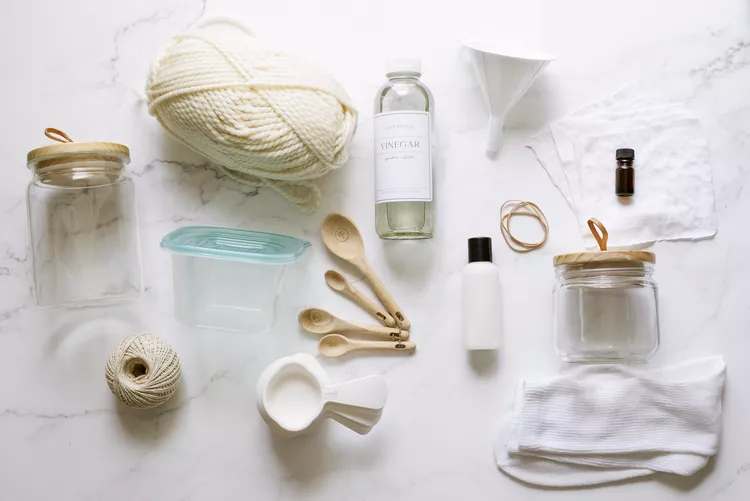
The Hidden Impact of Commercial Fabric Softeners
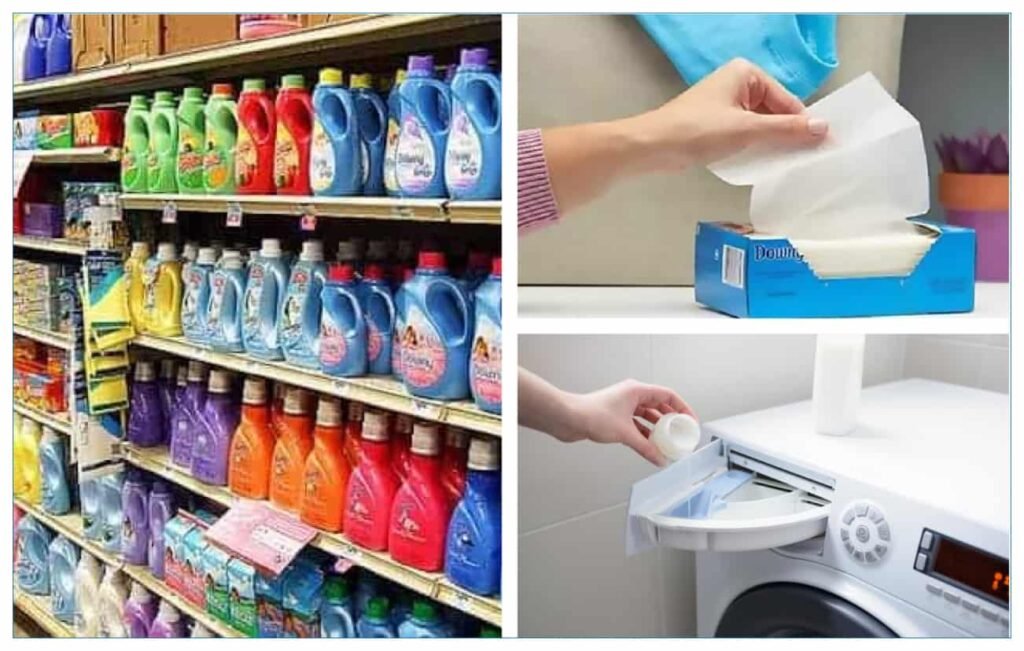
I’ve witnessed a disturbing increase in skin sensitivities linked to laundry products. Commercial fabric softeners often contain up to 25 different chemicals, including quaternary ammonium compounds (QACs) which can trigger asthma and benzyl acetate linked to pancreatic cancer.
You know what’s fascinating? After years of helping friends and family make the switch to natural fabric softeners, I’ve seen such amazing results. Just last month, my neighbor texted me saying her daughter’s skin irritations had calmed down within weeks of switching. And it makes sense – the average bottle of commercial fabric softener contains around 3-4 gallons of chemicals per year that we’re literally wrapping our bodies in. Why do that when nature gives us gentler options that work just as well?
By contrast, homemade fabric softener offers a natural, eco-friendly alternative that’s kind to your clothes, your skin and the environment.
How to make DIY fabric softener with vinegar?
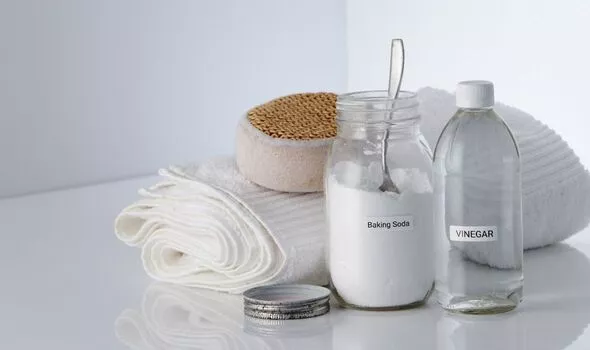
Ingredients You’ll Need
- 200g baking soda
- 2.5 liters of water
- 1.7 liters of white vinegar
- Large mixing container
- Essential oils (optional, for fragrance)
Step-by-Step Preparation
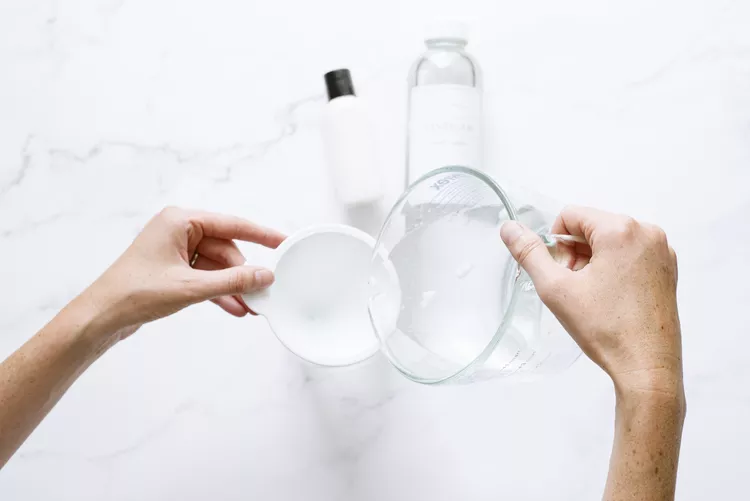
- Dissolve baking soda in 250ml of water
- Add white vinegar to the mixture
- Pour in remaining 1.7 liters of water
- If desired, add 10 drops of natural essential oil for fragrance
- Mix thoroughly
Application
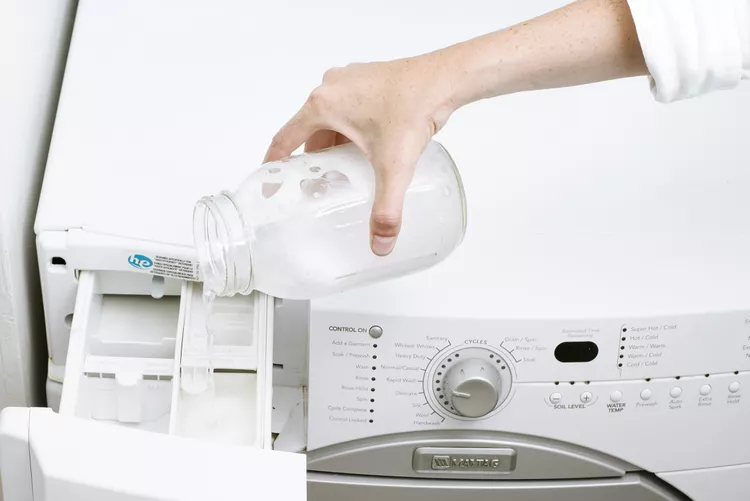
- Use approximately 80ml per laundry load
- Add to the fabric softener compartment of your washing machine
Tips and Tricks for Using Vinegar Fabric Softener
1. Proper Dosage Is Key
From my decade of experience in organic formulas, I’ve observed that many people assume “more is better” – this couldn’t be further from the truth. Using excessive amounts of homemade fabric softener can:
- Create soap residue in your washing machine
- Leave your clothes feeling stiff or sticky
- Waste valuable ingredients
- Potentially increase your garments’ drying time
Stick to the recommended 80 ml per load. I’ve found this amount provides optimal softening while maintaining fabric integrity. For smaller loads, you can reduce to 60ml.
2. Choose the Right Vinegar and Essential oil
White Vinegar: Not all vinegars are created equal. White vinegar with 5% acidity (meaning it contains 5% acetic acid) is ideal because:
- It’s strong enough to break down mineral deposits but gentle enough to preserve fabric integrity
- Distilled white vinegar is purified, ensuring no impurities or coloring agents that could stain clothes
- Higher concentrations (like cleaning vinegar at 6-10%) can damage fibers and washing machine components
- Other vinegars (apple cider, balsamic) contain natural sugars and proteins that can leave residue or attract bacteria
Essential Oils: Quality Matters, when selecting essential oils, consider these factors:
- Go for pure, organic options and steer clear of synthetic fragrances
- Look for oils extracted through steam distillation or cold pressing
- Check for “GC/MS tested” on labels (Gas Chromatography/Mass Spectrometry), which verifies oil purity
- Popular effective choices include:
- Lavender: Natural antibacterial properties
- Tea Tree: Powerful antimicrobial effect
- Lemon: Natural degreasing properties
Baking Soda: Freshness is key, fresh baking soda is crucial because:
- Over time, it absorbs moisture and environmental odors, reducing its effectiveness
- To test freshness: mix 1/4 cup of baking soda with 2 tablespoons of vinegar – it should fizz vigorously
- Store in an airtight container and replace every 3 months for best results
3. Don’t Mix with Bleach
This is where my environmental engineering background compels me to be especially firm: never mix your DIY fabric softener recipe with bleach. Here’s why:
When vinegar combines with bleach, it creates chlorine gas, which can cause:
- Severe respiratory issues
- Eye irritation
- Potential long-term health effects
- Environmental hazards
If you need to use bleach, run a separate cycle without the DIY softener. I always tell my workshop participants: “Safety first, softness second.”
4. Don’t Combine with Commercial Fabric Softeners
I’ve discovered that mixing DIY and commercial softeners can:
- Neutralize the beneficial properties of both products
- Create unexpected chemical reactions
- This leads to fabric damage over time
- Contribute to washing machine buildup
Think of it as trying to speak two different languages simultaneously – it just creates confusion. Choose one approach and stick with it. I recommend completing several rinse cycles before switching between commercial and DIY solutions.
5. Notice for Allergies and Skin Problems
As someone who regularly consults with organic cosmetic manufacturers, I understand the importance of skin safety. Before fully implementing your vinegar fabric softener:
Perform a patch test:
- Wash a piece of fabric (e.g., a handkerchief) with the DIY softener.
- Keep it in contact with your skin (e.g., wear it around your wrist ) for 6–12 hours.
- Monitor for any reactions
If you have sensitive skin:
- Consider skipping essential oils initially
- Use half the recommended amount of vinegar
- Monitor your skin’s response after each wash
- Keep a log of any reactions
From my experience working with sensitive skin formulations, I’ve found that about 15% of users might need to adjust the recipe slightly. Don’t hesitate to experiment with the ratios until you find what works for your skin.
6. Store Homemade Fabric Softener Safely
Here’s what I recommend for you:
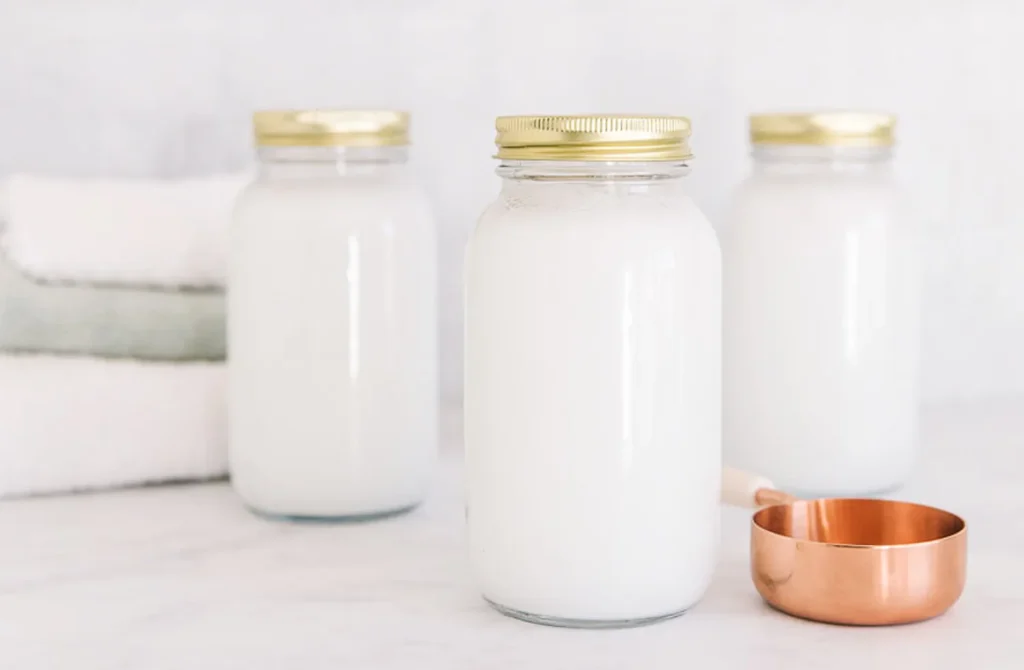
- Store your mixture in a dark glass or HDPE plastic container (these materials won’t react with the vinegar)
- Keep it in a cool, dry place away from direct sunlight (UV rays can degrade natural ingredients)
- Label with preparation date and ingredients (this isn’t just organization – it’s smart chemistry)
- Use within 2-3 months for optimal effectiveness (natural preservatives have their limits)
- Shake gently before each use (natural ingredients can separate over time)
Frequently Asked Questions: Your Homemade Fabric Softener Guide
1. Why use white vinegar and baking soda?
White vinegar and baking soda create a powerful cleaning synergy based on their chemical properties:
White vinegar (acetic acid, CH₃COOH) works on multiple levels:
- Its acidic pH (typically 2.4) breaks down mineral deposits and hard water residue
- The acetic acid molecules disrupt the electrical charges that cause static cling
- It naturally inhibits bacterial growth due to its antimicrobial properties
- The acid helps dissolve soap residue that can make fabrics feel stiff
Baking soda (sodium bicarbonate, NaHCO₃) complements this process:
- As a mild alkali (pH 8.4), it helps neutralize odor-causing acids
- Its crystalline structure acts as a gentle mechanical softener, breaking down fiber rigidity
- It creates a buffering effect that helps maintain optimal pH levels during washing
- The sodium ions help prevent mineral buildup that can make fabrics feel rough
Together, these natural compounds create an effective water-softening system. When hard water minerals (calcium and magnesium ions) encounter this combination, they’re converted into more soluble compounds that rinse away instead of embedding in fabric fibers. This prevents the minerals from creating that cardboard-like stiffness in your laundry while maintaining the natural integrity of the fibers.
2. Will DIY fabric softener damage my washing machine or clothes?
Good news! When used correctly, these natural ingredients are actually gentler than commercial softeners. They help prevent buildup in your machine and don’t leave that gunky residue on your clothes. I’ve been using this method in my own home for years, and my machine is running better than ever!
Just remember: follow my suggested measurements – too much of anything isn’t good.
3. Can homemade softeners, like wool or silk, work for all fabric types?
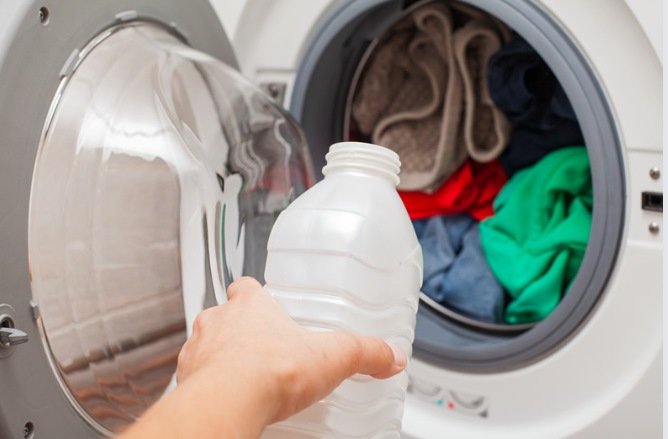
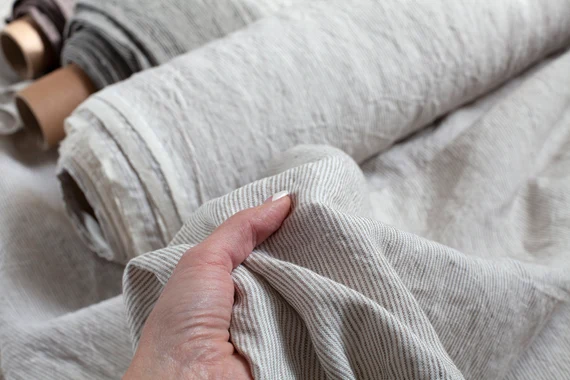
The only thing to remember is that white vinegar is the enemy of elastic and is not recommended for wollens. From experience, I no longer use it for socks, underwear, pajama bottoms, jeans with elastane, etc. I use it mainly for bath towels, tablecloths and napkins, bed linen, curtains, etc. For every clothing, I realized through experience that we can do very well.
4. Are there any risks of mold or residue when using DIY fabric softeners?
Yes, there are potential risks if your fabric softeners are not used or stored correctly. Some DIY fabric softener recipes use natural ingredients like vinegar, baking soda, or essential oils. While these are generally safe, storing the mixture for too long without proper sealing or refrigeration can lead to mold growth, especially if water is included.
Overusing DIY softeners, particularly those containing baking soda or oils, can cause residue to accumulate in your washing machine or on fabrics. This buildup might reduce washing efficiency or make clothes feel stiff over time.
Tips for Avoiding Issues:
- Make small batches and use them quickly.
- Ensure containers are airtight and clean before storing.
- Regularly clean your washing machine to prevent buildup.
5. Can this really save money?
Absolutely! Based on my calculations with current market prices, this DIY solution costs approximately $0.15 per load compared to $0.45-0.60 for commercial softeners. For a family doing 300 loads annually, that’s a $90-135 saving.
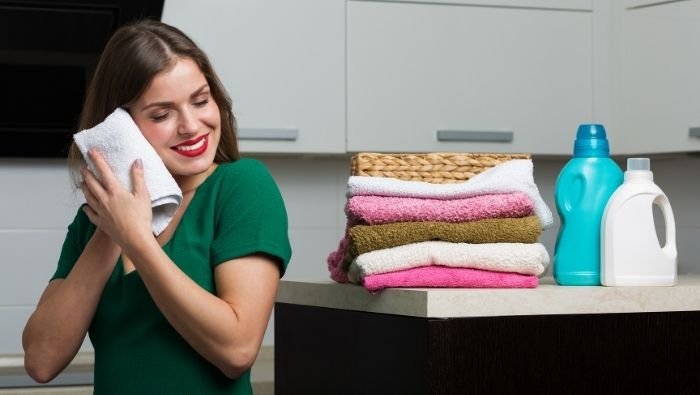
Creating your own fabric softener isn’t just about clean clothes – it’s a statement. It’s a commitment to reducing chemical pollution, protecting your family’s health, and embracing a more sustainable lifestyle. Each batch you make is a small victory for our planet.
Remember, green living starts with simple, conscious choices. Your laundry routine can be a powerful tool for environmental change.
Happy sustainable laundering!


Thanks for your pro tips!!! They’re really helpful for me 🥰