Hey there, health-conscious queens! If you’re in your late 20s or early 30s, you already know how much our choices matter—not just for ourselves, but for our family’s well-being too. Health today isn’t just about diet and exercise; it’s about cutting down on harmful chemicals hiding in everyday products. By embracing green living and natural solutions like simple DIY dishwashing liquid recipes, we’re taking a smart, intentional step to create healthier, safer homes for our loved ones.
Inspired by my love for nature and commitment to reducing waste, I’ve found that making homemade cleaners not only reduces our reliance on harsh chemicals but also turns everyday items like fruit scraps into powerful cleaning tools. It’s a simple, sustainable way to protect our families and care for the planet, and maintain a zero waste kitchen at the same time.
Ready to explore the world of DIY enzyme cleaners? Let’s dive in and learn how to create a natural kitchen cleaner that’s as good for your home as it is for your peace of mind!
Nature’s Clean-Up Crew: Decoding Garbage Enzymes
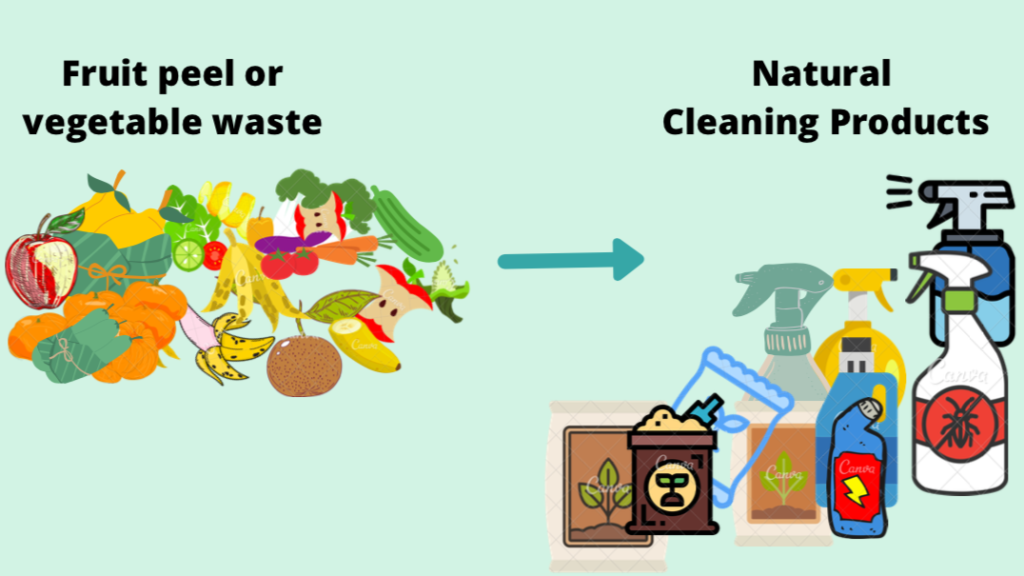
Years ago, I stumbled upon a fascinating story about a community in Thailand that transformed their waste problem into an environmental solution using something called “garbage enzymes”. Faced with overflowing landfills, they transformed fruit and vegetable scraps into powerful natural cleaners. This grassroots innovation wasn’t just about reducing waste—it completely reimagined sustainability at a community level.
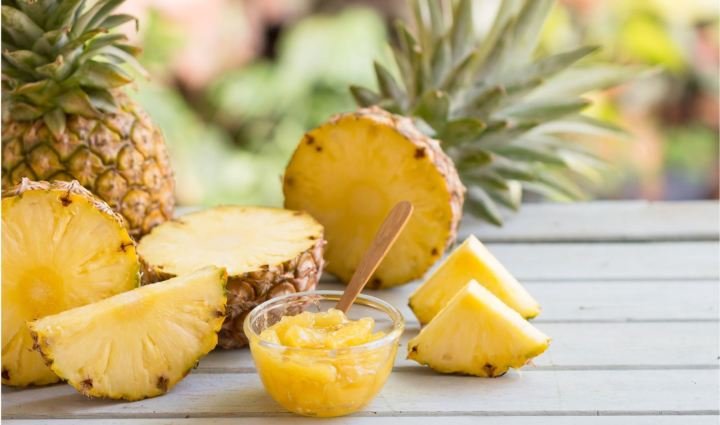
The magic of enzyme cleaners lies in their simple yet brilliant science. Enzymes are natural proteins that act as catalysts, breaking down organic matter like grease and grime into smaller, more manageable molecules. Take pineapple enzyme cleaners, for example. They contain bromelain, an enzyme that expertly tackles proteins and fats, making them incredibly effective on greasy surfaces and stubborn stains.
Imagine having a microscopic cleaning crew that works at the molecular level, dissolving dirt without harsh chemicals. That’s exactly what enzyme cleaners do. By harnessing the power of natural ingredients, we can create cleaning solutions that are not just effective, but also kind to our environment and health. It’s like turning kitchen waste into a superhero cleaning agent—who wouldn’t want that?
Guide to DIY organic dishwashing liquid with pineapple
Ingredients You’ll Need
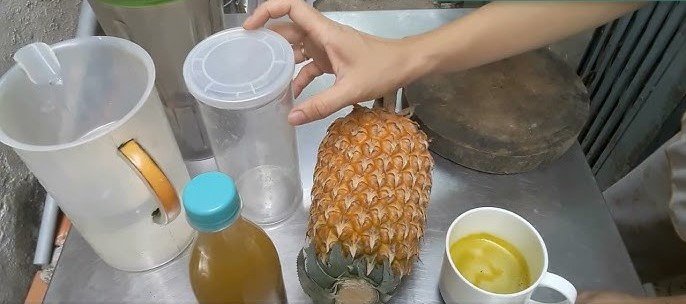
– Pineapple scraps (3 kg cores): I love using pineapple scraps because they’re packed with natural enzymes, particularly bromelain, which is excellent for breaking down proteins and fats. You can also use orange, mango, lemongrass, and soap pod peels to create this powerful natural cleaner.
– Brown sugar (1 kg): I appreciate using brown sugar for its molasses content, which enhances the fermentation process. You can substitute it with sugarcane molasses or sugarcane nodes, but never use white sugar as it won’t provide the same benefits for fermentation.
– Water (10l): Clean water is essential for diluting the mixture and facilitating fermentation. It helps the enzymes work effectively when cleaning.
– A large plastic container with lid: A plastic container works best for this process – avoid glass containers. Keep the lid loose to allow gases to escape while keeping pests out.
Pro tip: Follow the 1:3:10 ratio (brown sugar : fruit scraps : water) to adjust the recipe as needed.
This way, I can create an ideal environment for my homemade enzyme cleaner to develop. These ingredients come together to form the foundation of my natural kitchen cleaner.
Step-by-Step Making Pineapple Dishwashing Liquid
The benefits of using homemade pineapple dishwashing soap are numerous, including its natural, effective, and sustainable properties. This organic pineapple cleaner can help you achieve sparkling clean dishes while minimizing your environmental impact.
Here’s a detailed breakdown of each step in the process.
Step 1: Mix Sugar and Water
I start by dissolving the brown sugar in clean water in my plastic container. This creates the perfect base solution for our enzyme cleaner.
Step 2: Add Plant Materials
Next, I add all my prepared fruit scraps – the pineapple cores, orange peels, and other vegetable waste. I make sure to submerge all plant materials completely in the water mixture.
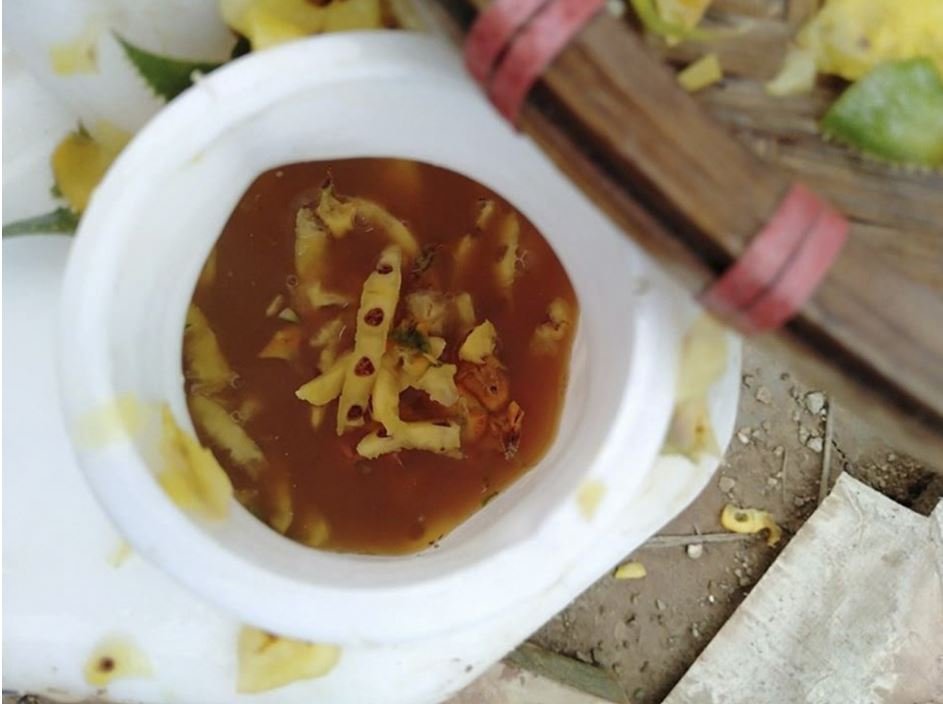
Step 3: Proper Storage
I place my container in a cool, dry place away from direct sunlight. This is crucial for proper fermentation! I keep the lid slightly loose to let gases escape while preventing any unwanted visitors.
Step 4: Fermentation Time
Now comes the patience part! The initial fermentation takes 2-3 weeks, but for optimal cleaning power, I wait a full 3 months before using it. During this time, I give it a gentle stir every few days to help distribute the enzymes evenly. You’ll know the fermentation is progressing well when:
- A beneficial white film forms on top (don’t remove this!)
- The mixture develops a rich amber or dark brown color
- It has a slightly sweet, fermented aroma
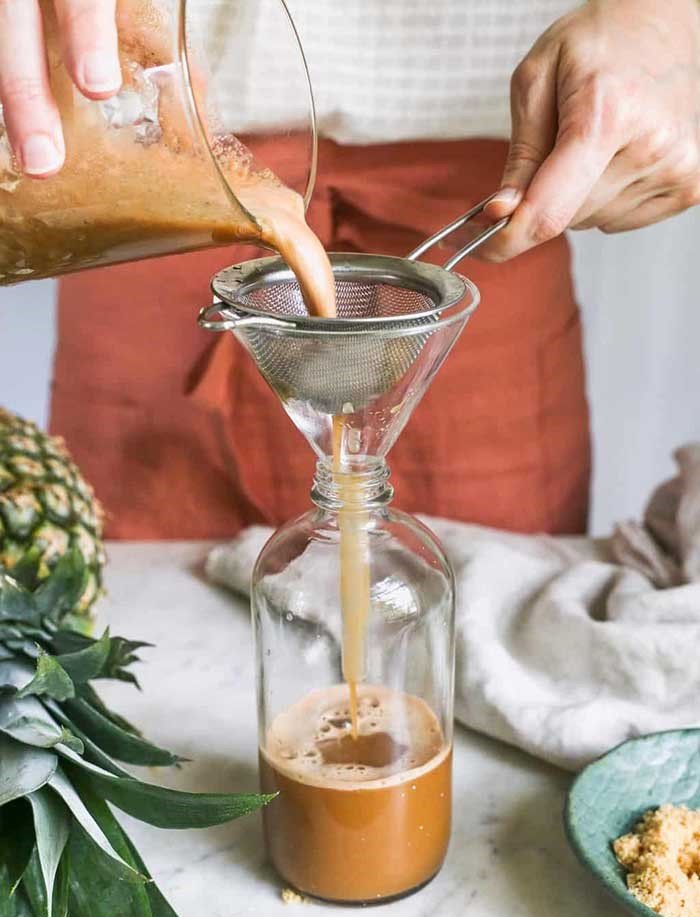
Step 5: Strain and Store
After the 3-month fermentation period, I strain the liquid through a fine mesh strainer. The resulting enzyme cleaner can be stored in a spray bottle and diluted as needed for various cleaning tasks.
Important Tips When Making Dishwashing Liquid
I’ve learned several crucial tips through my enzyme-making journey that I’d love to share:
- Use the right container: I always use a soft plastic container rather than glass or metal ones. This is crucial because plastic can better accommodate the pressure changes during fermentation.
- Don’t disturb the white film: A beneficial white layer will form on the surface during fermentation – this is a good sign! I resist the urge to remove it or shake the container, as it’s part of the natural process.
- Manage fermentation gases: During the first month, I regularly release built-up gases by carefully opening the lid. I also use a rack to gently push down any floating scraps back into the mixture. This helps maintain a healthy fermentation environment.
- Choose ingredients carefully: I always use fresh, raw ingredients. Cooked materials, or those with oil or seasonings, are a big no-no as they can disrupt the fermentation process.
- Monitor the color: The ideal color should be dark brown. If it turns black or develops a rotten egg smell, I add one part brown sugar, stir well, and wait for about a month – this usually gets the fermentation back on track.
- Avoid refrigeration: I never store my enzyme cleaner in the refrigerator as this can disrupt the internal pressure balance.
Precautions When Using Organic Pineapple Cleaner
Before you start using your homemade cleaner, here are some important things to keep in mind:
- Be patient for optimal results: The cleaning power improves with time. I always wait at least 3 months from the preparation date. Using it too early won’t give you the desired cleaning power.
- Avoid sensitive surfaces: Due to its natural acidic properties, I avoid using it on unsealed marble, granite, or other delicate materials to prevent any damage.
- Dilute when needed: For delicate cleaning tasks, I dilute the solution with water. This makes it safer for everyday use while still maintaining effectiveness.
- Store properly: Keep your cleaner in a cool, dry place away from direct sunlight and definitely not in the refrigerator, as this disrupts the pressure balance.
Pro tip: I label my containers with both the preparation date and the “ready-to-use” date (3 months later) to ensure optimal effectiveness!
By keeping these precautions in mind, you’ll get the most out of your natural pineapple cleaner while ensuring safe and effective use around your home.
Finding Your Perfect Balance
While making your own enzyme cleaner is rewarding, I understand that not everyone has three months to wait for fermentation or space to store a large container. Life gets busy, and sustainability shouldn’t feel like another full-time job.
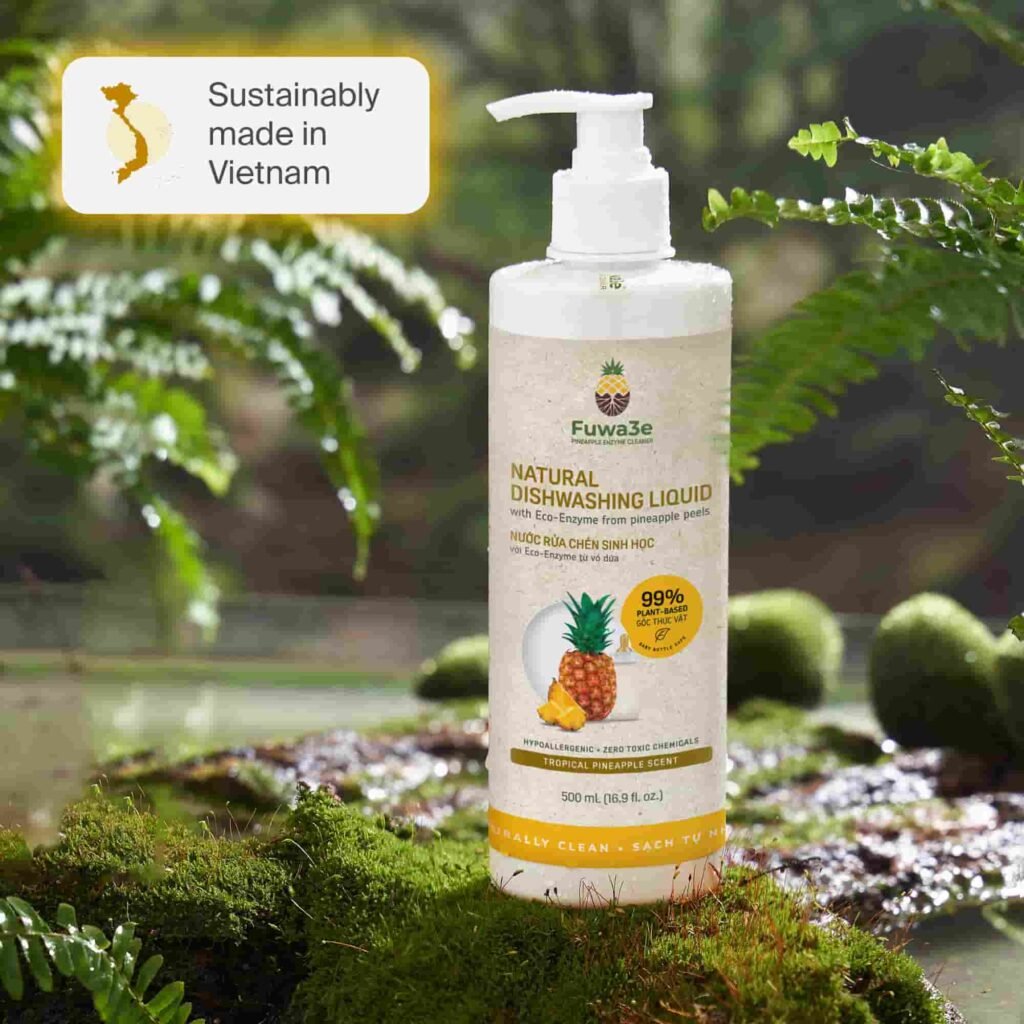
For those looking for a ready-made solution, there’s Fuwa3e Eco-Enzyme from my homeland in Vietnam. Based in Thanh Hoa, one of Vietnam’s largest pineapple-producing regions, this company has been transforming pineapple waste into natural cleaning solutions since 2016.
Why I recommend Fuwa3e:
- Ready to use, saving you 3 months of waiting time
- Uses surplus pineapples from local farmers
- Perfect for busy professionals who want eco-friendly solutions
- Professionally tested for safety and effectiveness
If you’re curious about both options, why not start with Fuwa3e while experimenting with your own batch? This way, you can enjoy eco-friendly cleaning right away while exploring your DIY journey.
Remember: Sustainability isn’t about perfection – it’s about finding solutions that work for your lifestyle. 🌍✨backup bottle for busy periods.
Q&A Section
Is pineapple enzyme cleaner safe for sensitive skin?
While this natural cleaner is generally gentle, I always recommend doing a patch test first. Remember to dilute it properly before use, and wear gloves when handling the concentrated solution. If you experience any irritation, discontinue use immediately.
Does homemade enzyme cleaner kill bacteria effectively?
Yes! When properly fermented for the full 3 months, the enzyme cleaner contains natural compounds that break down organic matter and effectively clean surfaces. The fermentation process creates beneficial compounds that work as a natural cleaning agent.
Can I use pineapple enzyme cleaner to clean wooden utensils?
While pineapple enzyme cleaner is generally safe for most surfaces, it’s best to avoid using it on delicate materials like certain types of wood. The acidity of the enzymes may cause damage or discoloration to wooden kitchen utensils over time. It’s recommended to use a gentler, pH-neutral cleaner for wooden items.
Are there any safety precautions when using homemade enzyme cleaners?
Yes, here are my essential safety tips:
- Dilute appropriately for different cleaning tasks
- Always wait the full 3 months before using
- Store in a cool, dry place (never in the refrigerator)
- Keep properly labeled and away from children and pets
- Use gloves when handling concentrated solution
